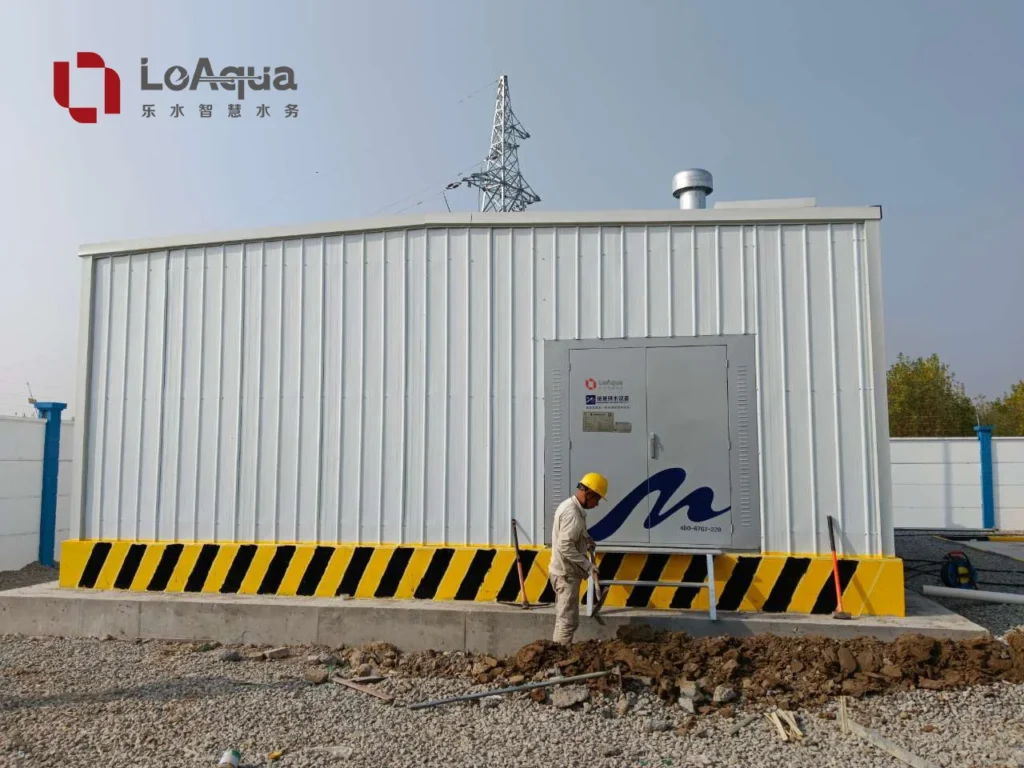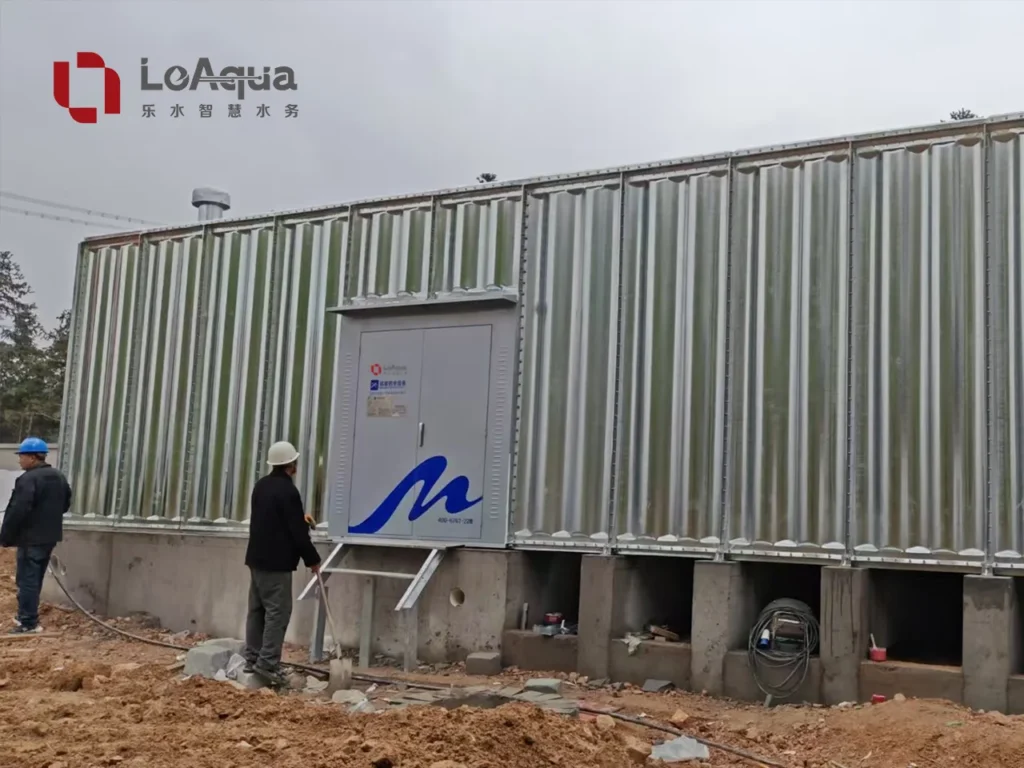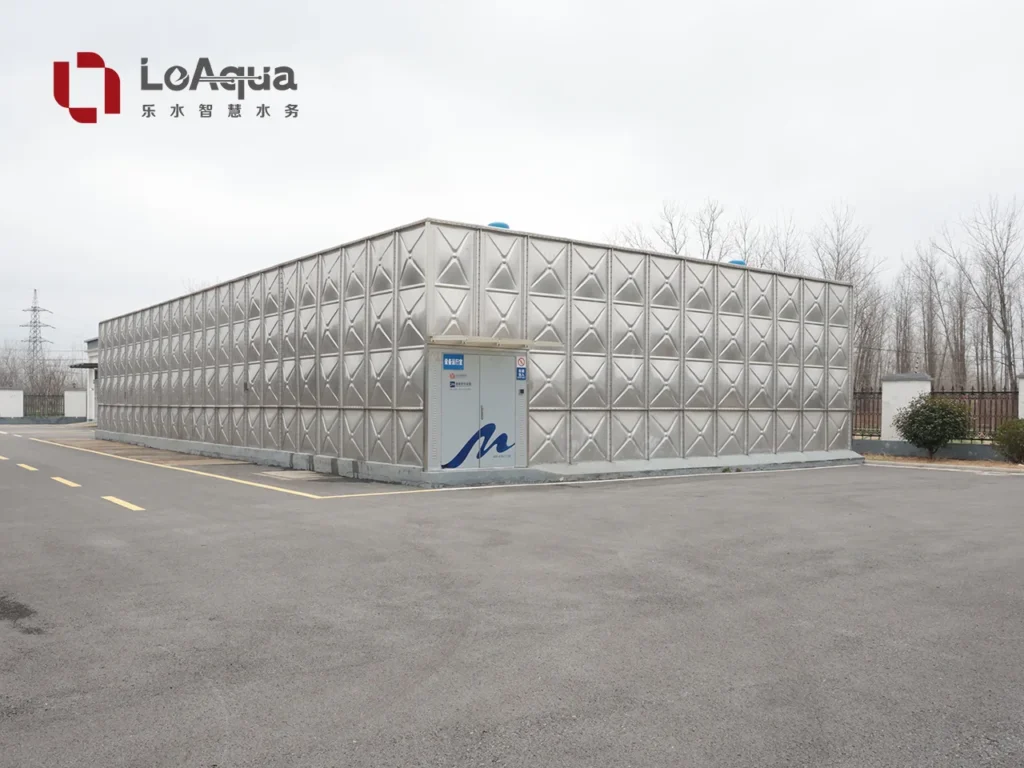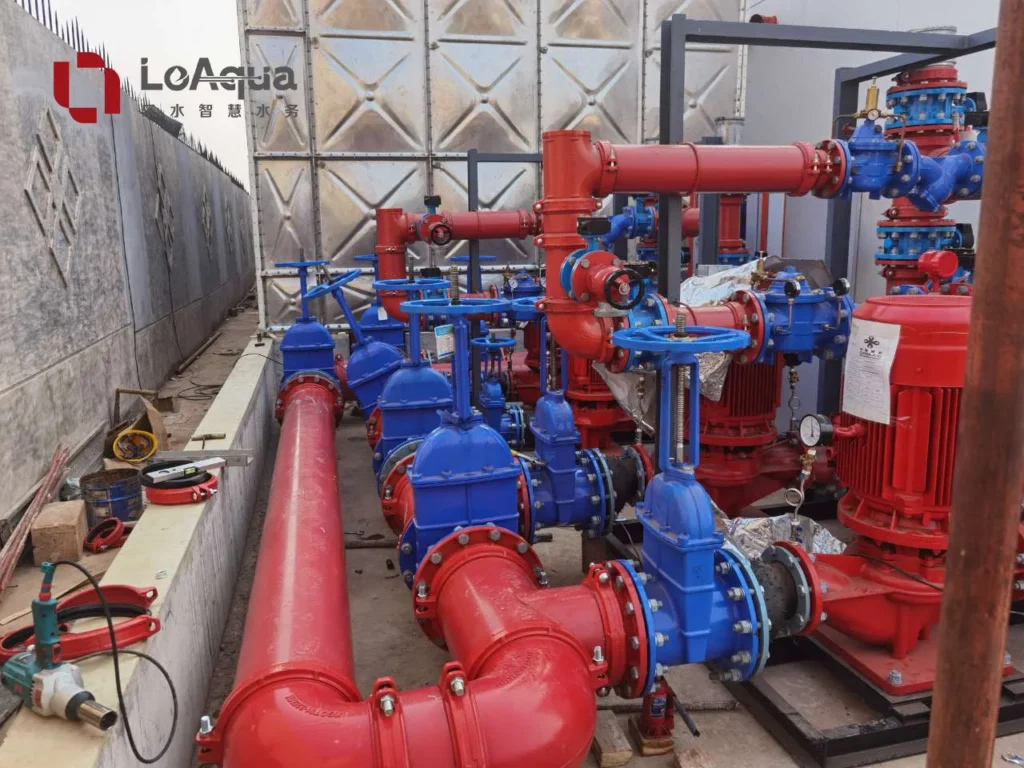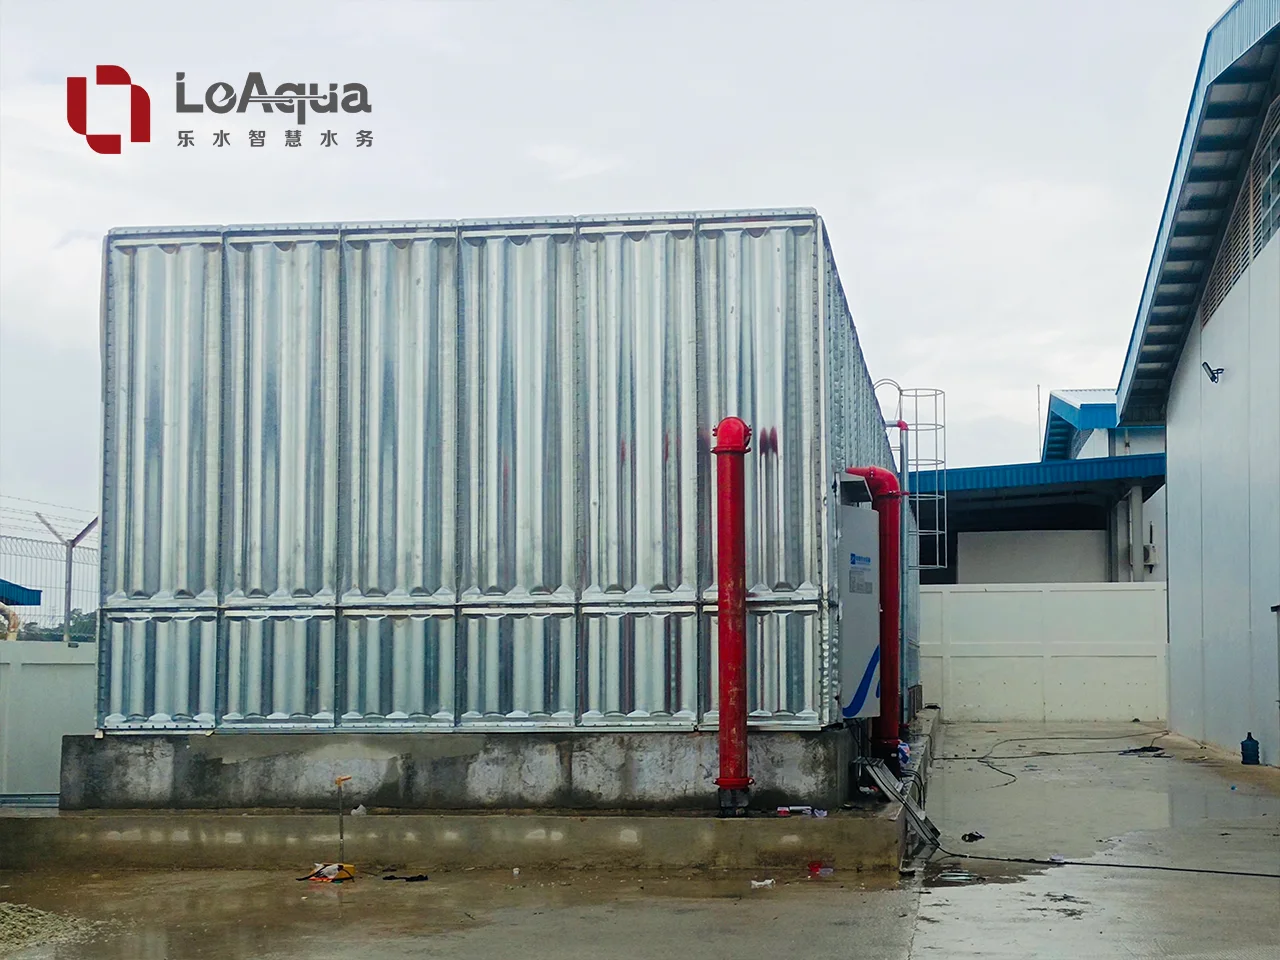
A water tank can look complete while a joint or connection still needs attention. A water tank leak test checks the installed tank before handover, when defects can be recorded and corrected without interrupting normal service.
For contractors and project buyers, the important questions are straightforward: what needs checking, who agrees the result, and what evidence stays in the handover file?
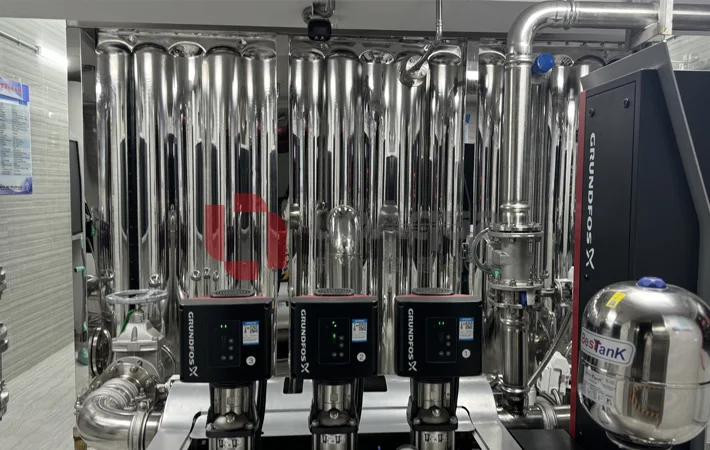
What does a water tank leak test check?
A water tank leak test checks whether the installed tank body, joints and connections retain water under agreed test conditions. For atmospheric storage tanks, it is a controlled water-filling and inspection task, not a compressed-air pressure test or a pump performance test.
This guide covers non-pressurized sectional water storage tanks. The approved project procedure and instructions for the actual tank take priority over a general checklist.
1. Agree the test conditions before filling
Decide the test water level, filling stages, hold period, inspection points and acceptance criteria before water arrives. Also identify the person authorized to witness the test and sign the result.
LeAqua publishes separate installation guides for welded and bolted water tanks. Use the guide that matches the supplied construction, together with the approved drawings and project specification; do not transfer a test requirement from one tank type to another without confirmation.
The method statement should also cover the water source, safe isolation of connected systems, and controlled drainage or disposal after testing. Confirm whether a separate test is required for connected pipework rather than assuming the tank test covers it.
2. Complete the installation checks
Do not use the first fill to discover that a support or connection is unfinished. Before filling, have the responsible installer confirm the following:
- The foundation and tank supports are ready for the test load. Check the approved water tank foundation requirements, not just whether the base looks level.
- Panels, specified bracing, roof supports, fasteners and seals are installed and checked against the supplier’s instructions.
- Pipe connections are complete and independently supported where specified; connected systems are isolated as the test procedure requires.
- Vents remain functional, overflow arrangements are in place, and filling can be stopped safely.
- The tank is clear of installation debris, the outside inspection surfaces are dry, and inspectors can reach the required observation points safely.
Keep inspection external wherever possible. If internal access is necessary, it needs separate safety planning: HSE guidance on confined spaces explains why enclosed-space work requires risk assessment and appropriate controls. An empty tank is not automatically safe to enter.
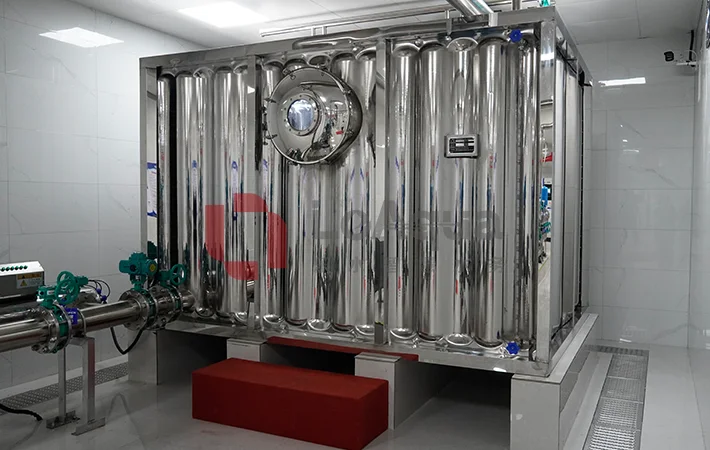
3. Fill and inspect using the approved procedure
Follow the agreed filling sequence and inspection pauses. At the specified stages, inspect accessible panel joints or weld seams, corners, the base perimeter, flanges, drain connections and other penetrations.
Record the location of any dampness or active leakage. Check whether water comes from the tank joint, a pipe connection, an earlier spill or condensation before assigning the defect.
Unexpected movement, abnormal deformation or active leakage should trigger a pause and review by the responsible installer or engineer. Do not improvise repairs or tighten loaded joints while the tank remains full; use the supplier-approved isolation, draining and repair procedure.
A falling water level alone does not identify a leaking joint. Record any filling, withdrawal or drainage during the test, and consider evaporation and temperature effects where relevant to the approved measurement method.
4. Record the result and close any defects
A useful water tank leak test report identifies the tank, the agreed conditions, the inspected locations and the result. A photograph of a full tank does not establish how the test was conducted or whether it met the acceptance criteria.
| Record | What to include |
|---|---|
| Tank identification | Location, tank reference and drawing revision |
| Test conditions | Approved procedure reference, water level, filling stages and actual start/end times |
| Inspection result | Checked areas, observations, photographs and any deviations |
| Acceptance decision | Result against agreed criteria, witness and authorized sign-off |
| Defect closure | Repair reference, retest conditions, result and acceptance |
If the test fails, mark the affected locations, agree the corrective work, and retest under the approved requirements. Keep both the original defect record and the successful retest in the water tank handover documents.
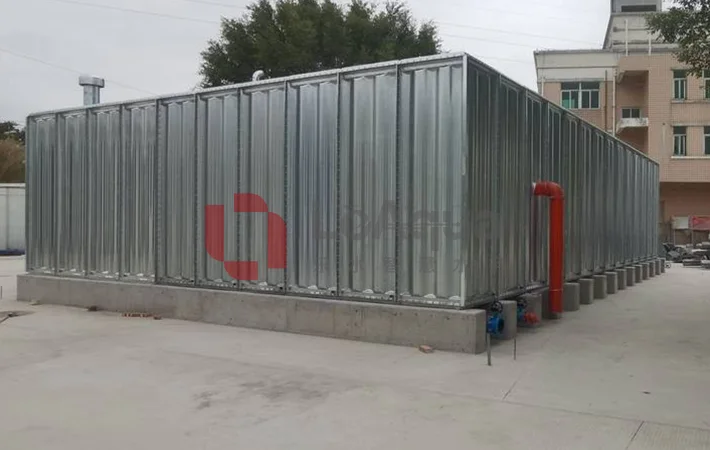
Does passing the test mean the tank is ready for drinking water?
No. A successful water tank leak test demonstrates water retention under the recorded conditions; it does not establish drinking-water quality. Cleaning, disinfection and any required water-quality testing remain separate acceptance tasks.
The WHO technical note on cleaning and disinfecting water storage tanks explains these hygiene tasks in an emergency-water context. It is useful background, not a substitute for the local drinking-water requirements and approved commissioning plan for a permanent installation.
Likewise, pumps, controls and system operation need their own checks. Those belong to the wider water storage system commissioning process.
Set the test scope before the tank reaches site
Include leak-test responsibilities in the procurement scope: who supplies the water, who witnesses the test, and who closes defects. For a LeAqua tank enquiry, send the proposed capacity, tank layout and project test requirements so the required documentation can be discussed before installation.