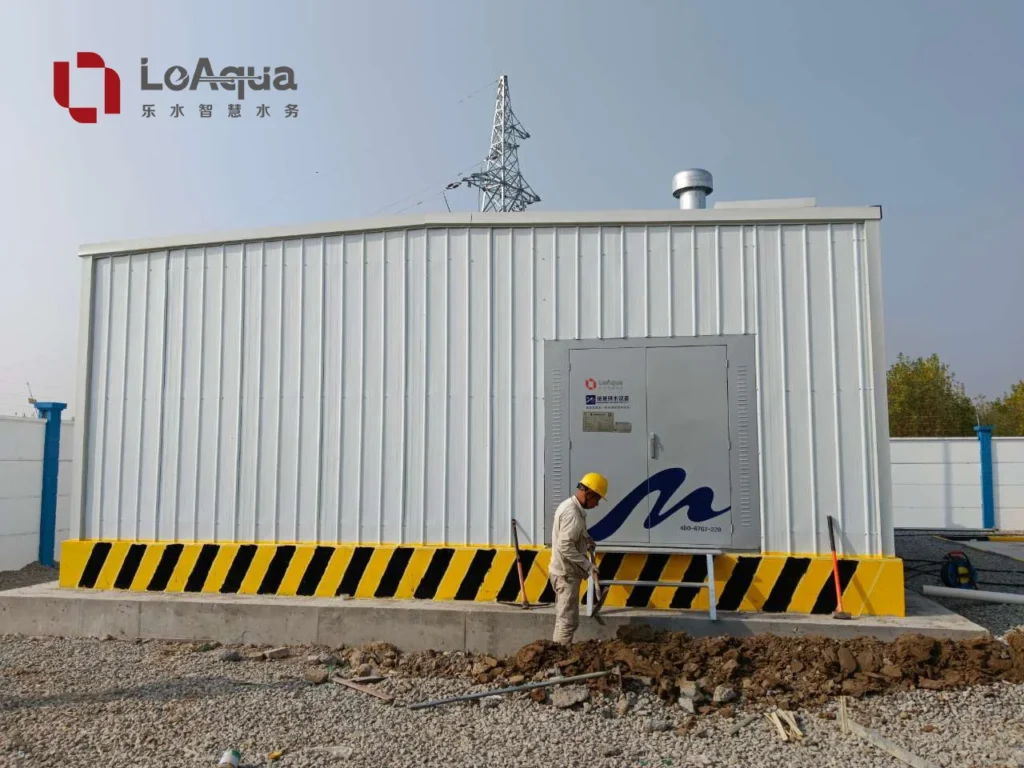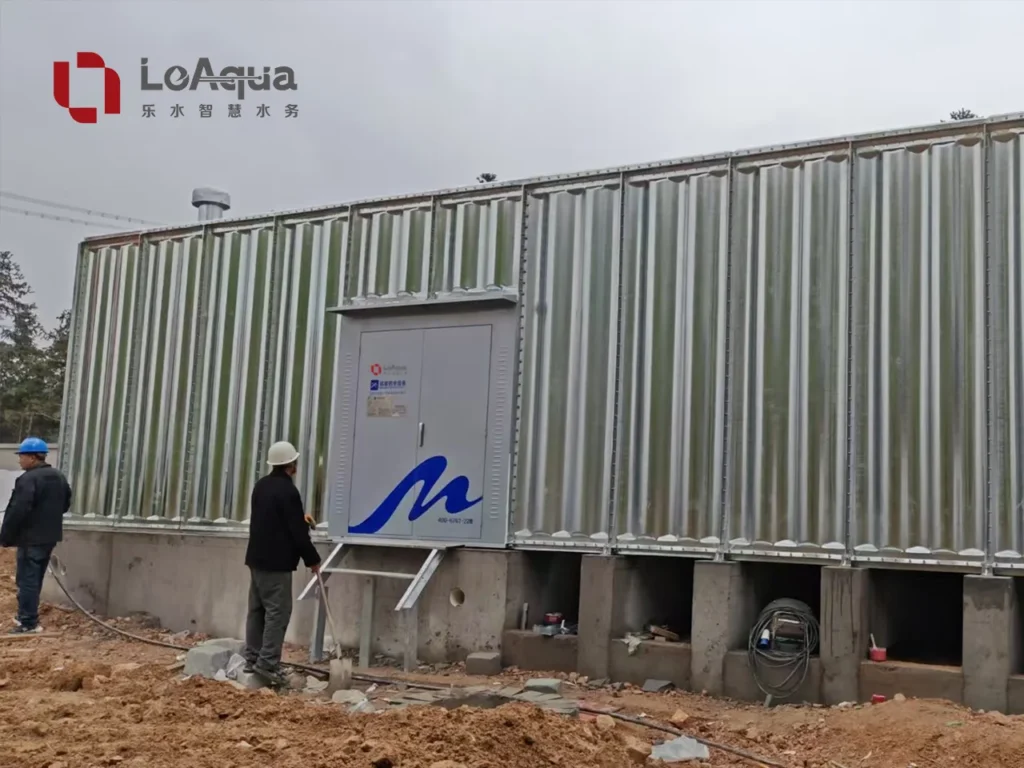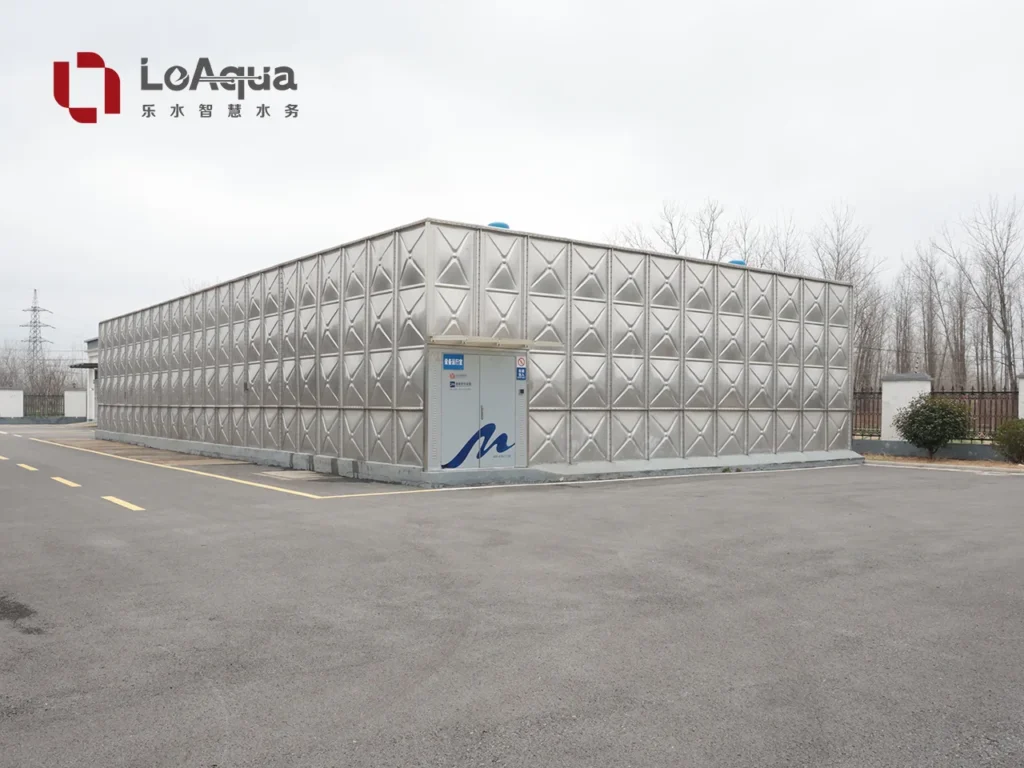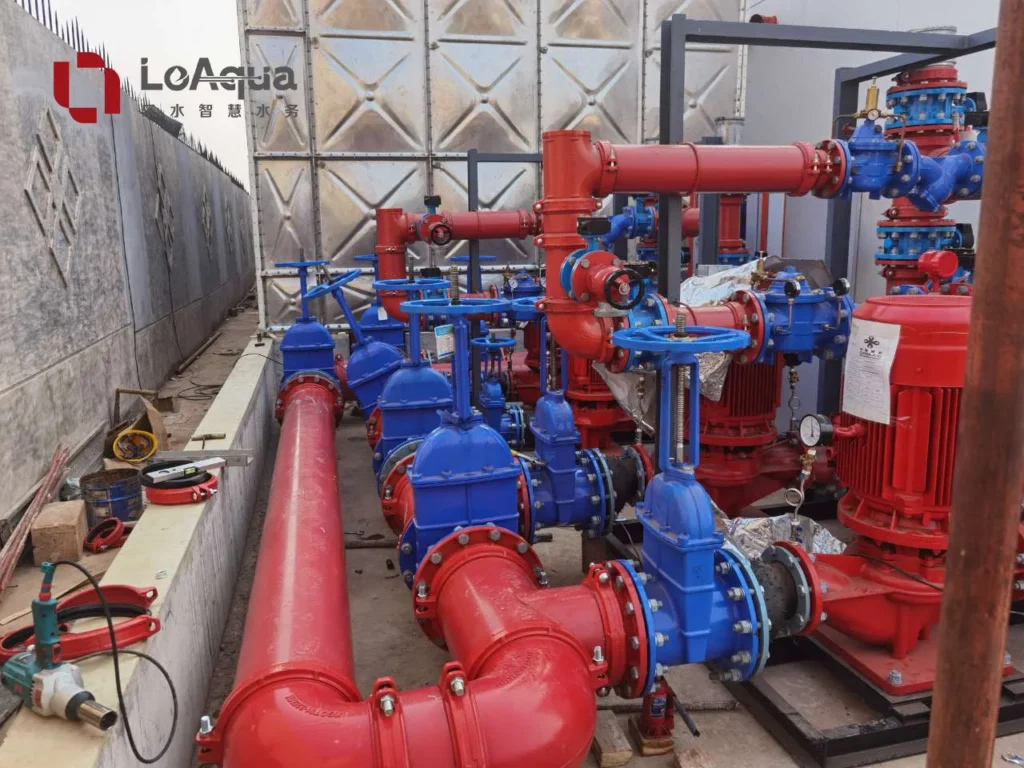
Potable water tank cleaning and disinfection should be planned as a controlled project activity, not treated as a final rinse after installation. The team needs to coordinate access, isolation, draining, internal inspection, cleaning, disinfection, sampling, documentation and return to service. The exact chemical method and acceptance limits must follow the project specification and the rules of the responsible water authority. For a new installation, start with the relevant potable water tank configuration and include the cleaning scope in the project documents.
Quick answer: A potable water tank cleaning checklist should cover the tank’s service, isolation and drain plan, internal condition, cleaning method, disinfection basis, sampling and test records, final inspection, and approval before the tank is put back into service.
Why cleaning and disinfection need separate checks
Cleaning removes sediment, scale, loose material and other deposits from the tank and its accessible components. Disinfection is a separate control step intended to address microbiological risks under an approved method. A tank can look clean and still require the specified disinfection and verification before it is accepted for potable service.
The U.S. EPA’s finished-water storage tank resources separate inspection and cleaning records into components such as the tank, drain, vent, overflow and hatch. That structure is useful for project coordination because it turns a general “clean the tank” instruction into checkable items, although the local authority and project specification remain the governing requirements.
Potable water tank cleaning checklist
| Stage | What the project team should confirm |
|---|---|
| Before isolation | Water service, users affected, alternative supply, tank level, isolation points, access route, confined-space controls and responsible contacts |
| Drain and access | Drain route, discharge control, safe hatch access, ventilation, lighting and protection against contamination while the tank is open |
| Internal inspection | Panels or surfaces, joints, supports, ladders, coatings, sediment, corrosion, unusual deposits, outlets and visible damage |
| Cleaning | Removal method, tools and materials, waste collection, rinse water management and protection of tank components |
| Disinfection | Approved method, chemical/product information, application sequence, contact basis, safety controls and responsible person |
| Verification | Sampling location, laboratory or test method, results, corrective action and release decision |
| Return to service | Final inspection, refill sequence, valve status, records, owner approval and updated maintenance information |
Step 1: Confirm the service and plan the outage
Start by recording what the tank supplies, which users depend on it and whether the tank is part of a larger domestic, process or emergency-water arrangement. The same tank may be physically suitable for storage but still require a carefully timed outage because the building cannot simply lose its supply.
- Identify the tank, compartment and connected system.
- Confirm isolation valves and prove that backflow or unintended inflow is controlled.
- Define temporary supply, staged cleaning or the approved outage window.
- Assign responsibility for owner approval, cleaning, testing and release.
Step 2: Drain, open and inspect safely
Before opening the tank, review the access hatch, ventilation, lighting, electrical equipment, internal access and work-at-height arrangements. A tank interior can be a restricted or confined work area; the cleaning plan should state who is permitted to enter and what controls apply.
Record the condition before cleaning. Photograph the floor, walls, roof underside, seams, supports, ladder, outlet, drain, overflow, vent and hatch. If a defect is discovered, separate “cleaning” from “repair” in the work order so the owner can decide whether the tank can return to service.
Step 3: Clean the tank and its interfaces
Cleaning should address the areas where deposits and contamination can remain: low points, corners, around outlet screens, behind removable fittings and at the drain. Confirm that the method is compatible with the tank material, seals, coatings, internal accessories and potable-water service.
Do not document only the main tank shell. The hatch, vent and overflow are part of the sanitary boundary, while the drain and outlet affect how the tank is emptied and flushed. EPA’s checklist format is a useful reminder to keep these components visible in the inspection record.
Step 4: Apply the approved disinfection method
The disinfection procedure should identify the selected product or method, the person responsible, the safety controls, the application sequence and the basis used to determine when the step is complete. Do not copy a chemical concentration or contact time from a general online article and treat it as a universal requirement; the correct values depend on the governing standard, water authority and project conditions.
Design and handover point: The contractor should submit the disinfection basis before the work starts, then provide the actual product information, application record and verification results after the work is complete.
Step 5: Sample, review and release
Sampling should follow the project’s approved locations, method and acceptance criteria. The record should identify the tank or compartment, date and time, sample point, test or laboratory method, result, reviewer and any corrective action. If a result is not acceptable, the release decision should remain open until the responsible party confirms the next step.
- Keep the tank isolated until the release decision is documented.
- Record whether the sample represents the tank, outlet or downstream point required by the project.
- Link each result to the cleaning and disinfection work order.
- Record refill, flushing and valve reinstatement steps before normal operation.
What documents should be handed over?
A useful handover package makes the work auditable without forcing the owner to reconstruct what happened from photographs and invoices. At minimum, ask for:
- Approved cleaning and disinfection method statement
- Risk assessment and access or confined-space controls
- Before-and-after photographs with tank and component identification
- Cleaning record, waste or rinse-water record and chemical/product information
- Sampling or laboratory results and the acceptance decision
- Defect list, repair recommendation and restrictions, if any
- Final inspection record, refill/flush record and updated O&M information
LeAqua’s water tank handover guide can be used alongside the project’s cleaning records. For a new potable-water installation, also align the package with the potable water tank procurement checklist and the technical submittal checklist.
How tank configuration affects cleaning planning
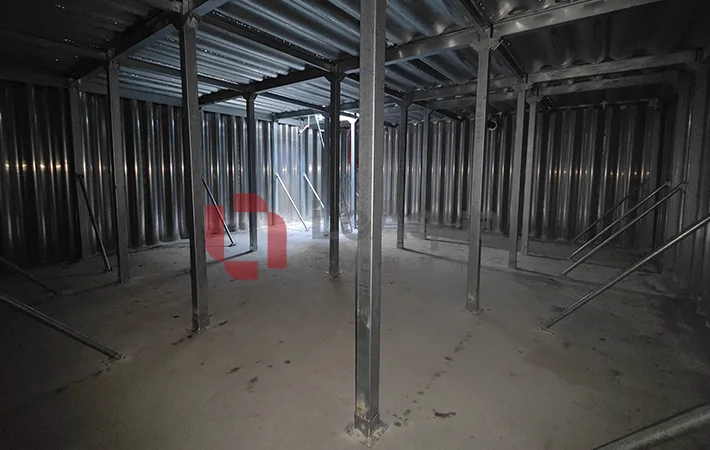
Tank geometry and accessories affect how people reach, inspect and clean the interior. A sectional tank with a suitable access hatch, drain arrangement and internal layout may be easier to coordinate than a configuration that leaves inaccessible low points or obstructed fittings. That does not remove the need for a site-specific method statement.
Where continuity matters, a two-compartment water tank arrangement may allow one compartment to remain available while the other is isolated, subject to the system design and operating requirements. It should not be presented as an automatic way to avoid an outage.
Automatic cleaning and a clearer tank interior
Some configured potable-water tank systems can include an automatic cleaning or disinfection device. This can reduce reliance on repeated manual entry and make a planned cleaning cycle easier to control, but it is an equipment option—not an automatic property of every tank. It does not remove the need for isolation, inspection, approved disinfection, sampling or maintenance records.
For small- and medium-sized double-sided arc-rib tank configurations, the structural design can avoid horizontal tie-rods inside the tank, subject to the specified panel arrangement and engineering review. A clearer interior gives inspectors and cleaning teams more usable space around the walls and floor, with fewer obstructions to inspect and wash. LeAqua describes this product family in its double-sided arc-ribbed water tank overview.
Important limitation: A no-horizontal-tie-rod layout improves access; it does not by itself prove that a tank is clean or disinfected. The project still needs a suitable method, verification record and release decision.
Frequently asked questions
Is a visual inspection enough after cleaning?
No. A visual inspection can document condition and visible cleanliness, but release for potable service also depends on the project’s disinfection, sampling and acceptance requirements.
Can a tank be cleaned while it remains connected to the building?
Sometimes a staged or compartment-based arrangement can support continuity, but the isolation, backflow, safety and water-quality implications must be reviewed before work starts. The site team should not assume that a connected tank can be cleaned safely without an approved sequence.
Who decides whether the tank can return to service?
The responsible owner, water authority or project engineer should define the release process. The cleaning contractor can submit records and test results, but should not replace the project’s approval authority.
References and related resources
The US EPA Finished Water Storage Tank Inspection/Cleaning Checklist provides separate forms for storage tanks, drains, vents, cleaning, overflow and hatches. The US EPA asset-management guidance is useful when owners plan maintenance and renewal as part of the total cost of operating an asset. AWWA standards cover water treatment and supply topics; the applicable current standard should be confirmed for the project rather than assumed from a general checklist.
Conclusion
Potable water tank cleaning and disinfection is complete only when the tank has been safely isolated, inspected, cleaned, disinfected, verified and formally released. A clear checklist protects water quality and gives the owner a usable record for future maintenance. When requesting a new tank or refurbishment quotation, include the service, access, cleaning method, sampling requirements and handover documents in the scope from the beginning.