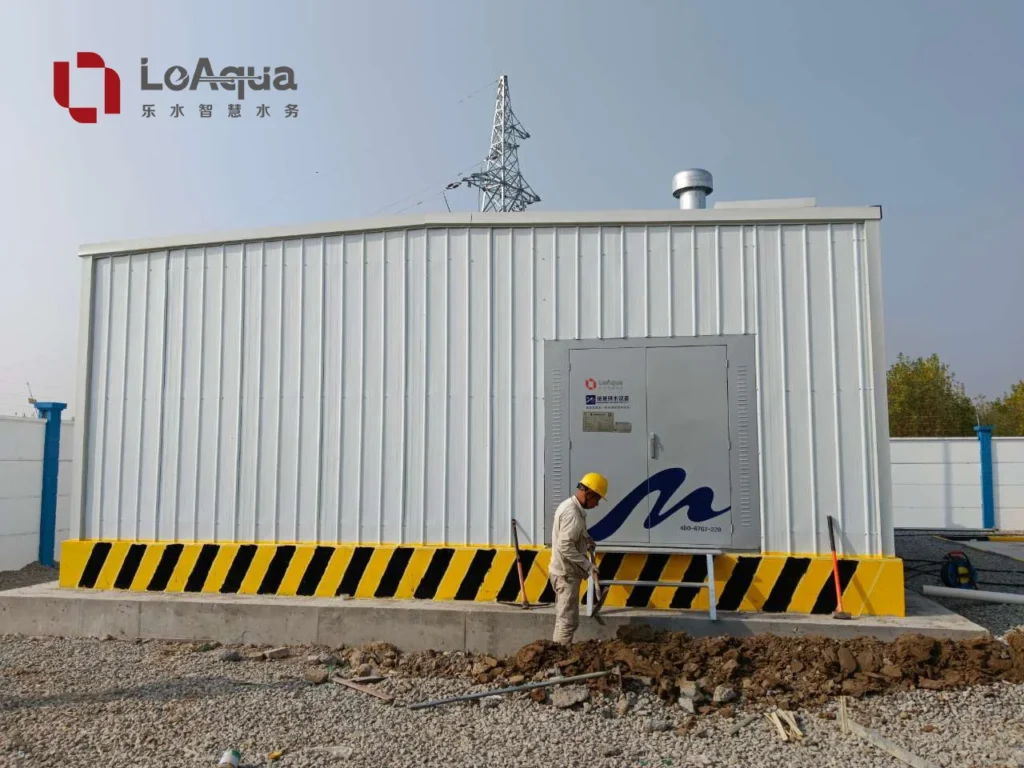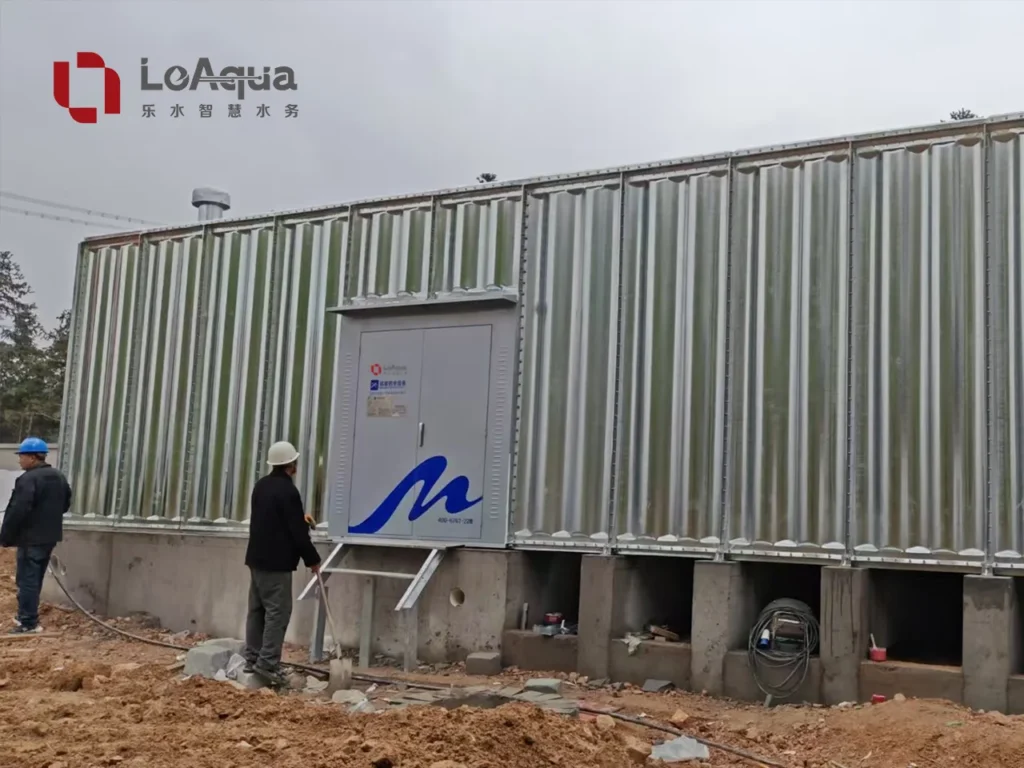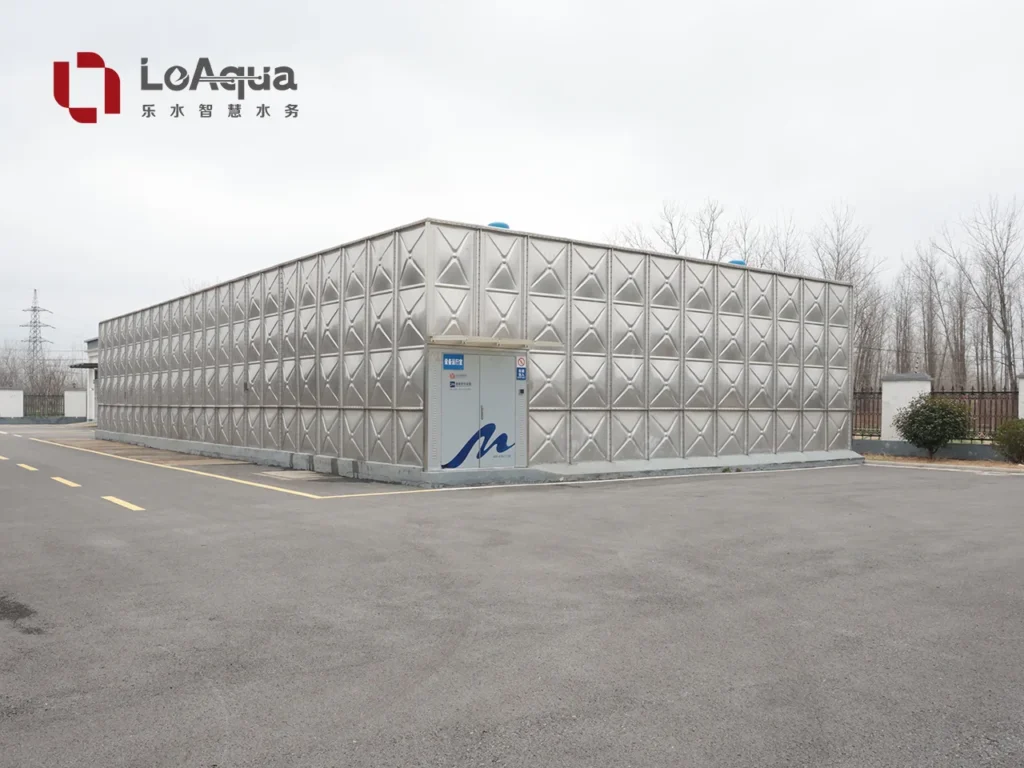
Water tanks in hot, humid climates need to be specified around the water they store and the conditions on site. For an outdoor tank, sun and rain exposure matter. In a plant room, the more immediate questions may be drainage, access and the space available for maintenance.
Climate is part of the specification, but it does not decide the tank material on its own. Before ordering, confirm the intended water use, water quality, installation location and maintenance responsibilities.
Content — click to expand
Before approving the quotation
Check water use and quality, site exposure, delivery and assembly access, pipe and pump connections, and the cleaning plan. Ask suppliers to state what their quotation includes and what the local contractor must provide.
1. Confirm the water use and quality
A potable water tank may have different material and documentation requirements from one used for fire protection, process water or general service. Ask for the documents available for the proposed water-contact materials, and check that they match the intended application and local project requirements.
Do not select a material simply because the site is tropical. Stainless steel grade, GRP resin specification, seals and other water-contact components should be reviewed against the actual water chemistry, treatment methods and operating conditions.
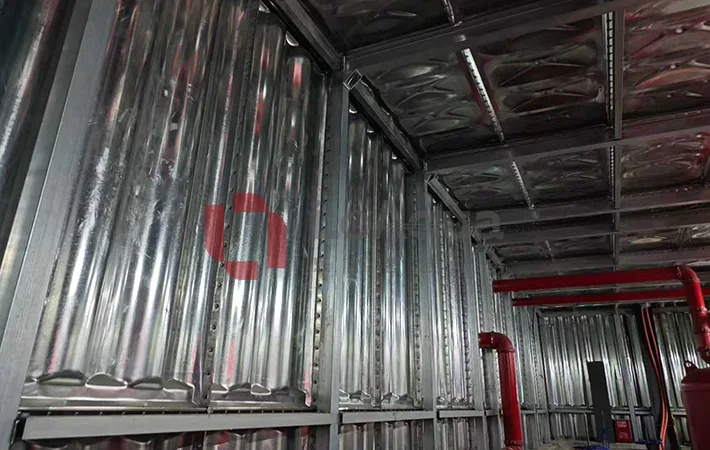
2. Choose the location with inspection in mind
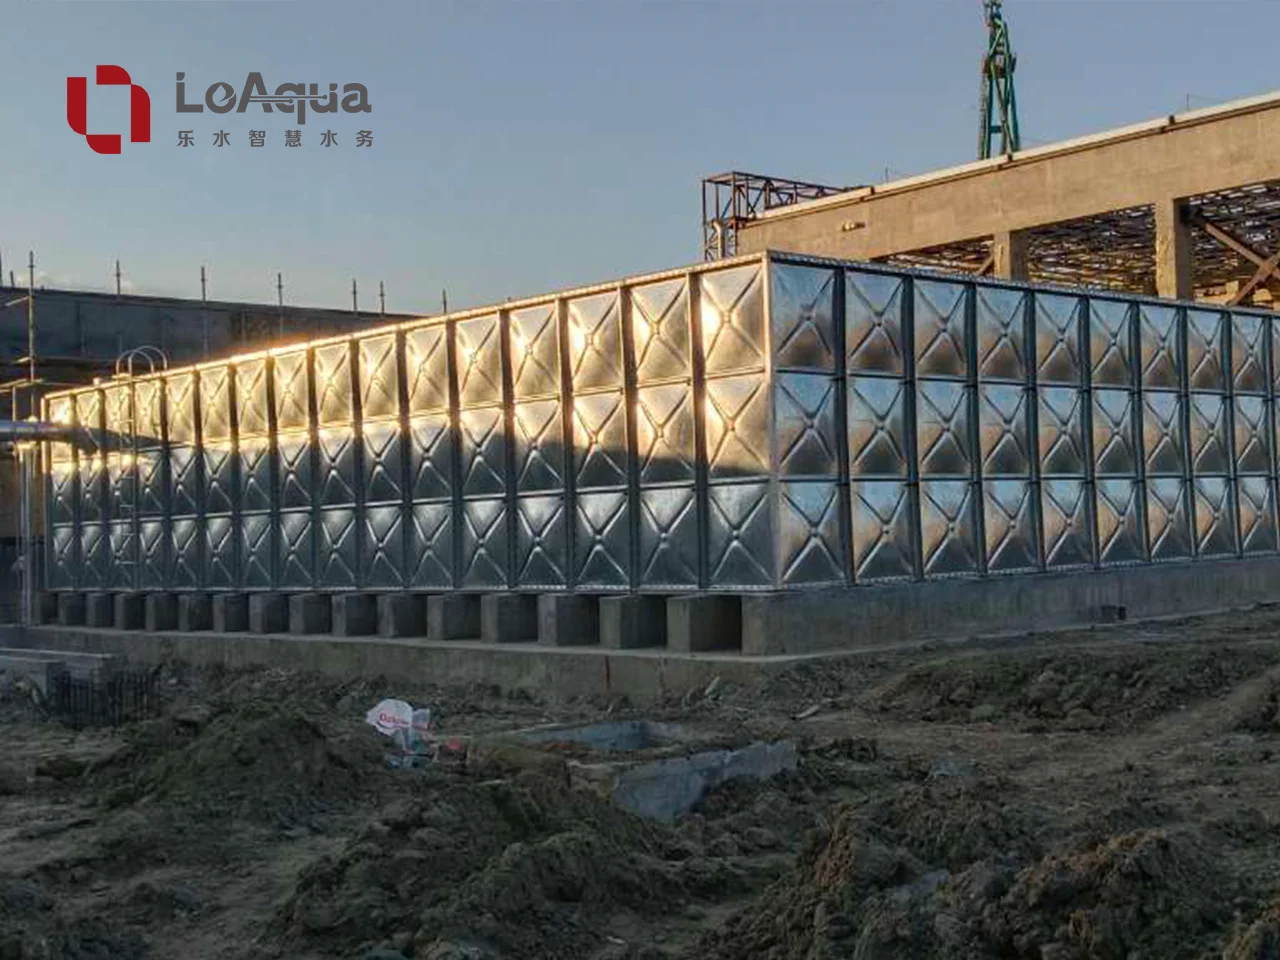
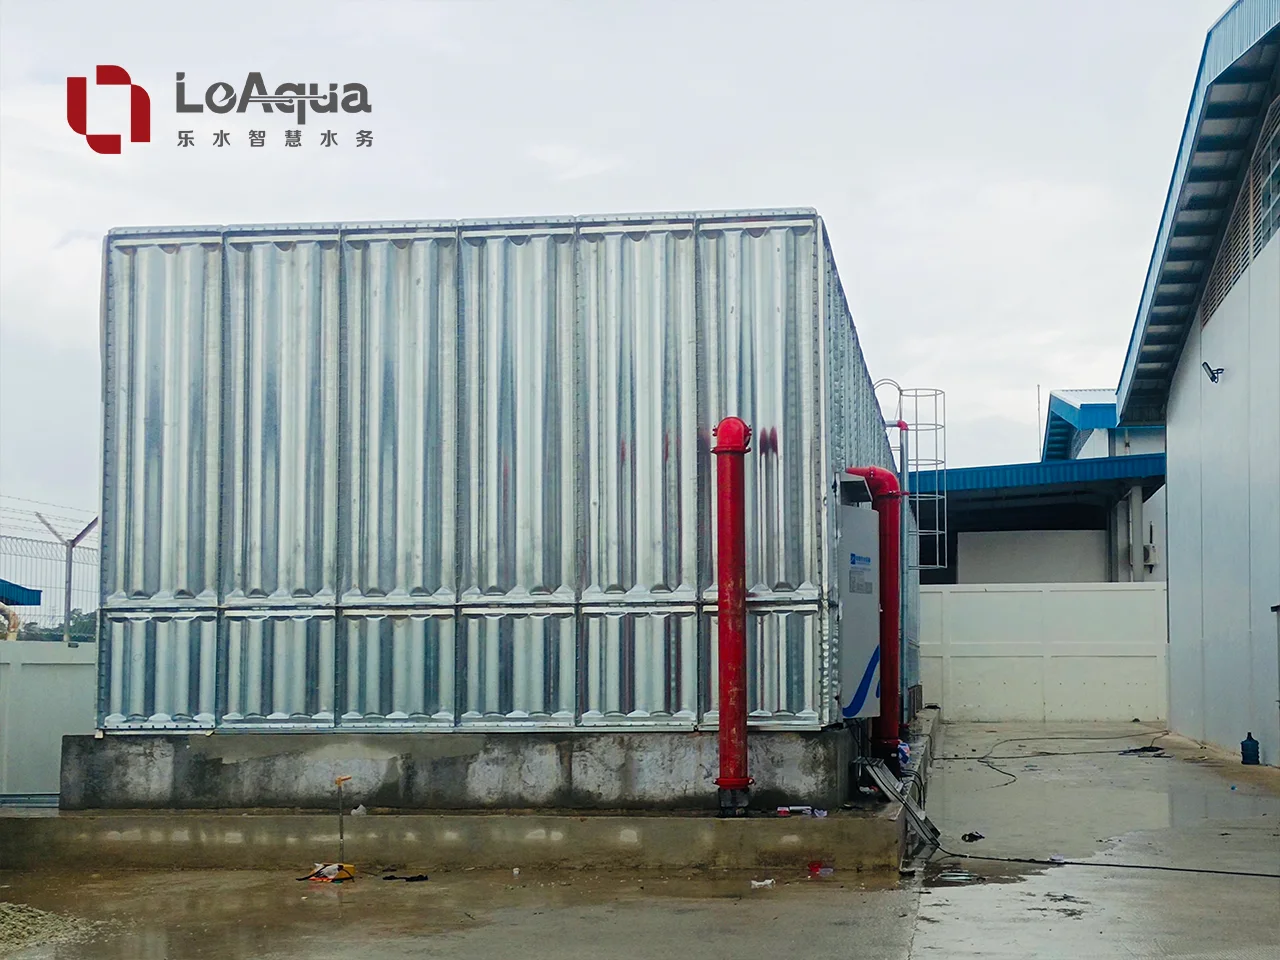
For a rooftop or outdoor tank, record sun and rain exposure, nearby sources of contamination, and any coastal or industrial exposure that needs a material review. If shading, insulation or external cladding is proposed, ask the designer to explain its purpose rather than assuming it will keep the water at a fixed temperature.
Leave room to open the access cover, inspect connections and reach valves safely. Check the route to the tank as well as the space around it. The related water tank inspection access guide covers manholes, ladders and maintenance clearance.
3. Check access before shipment
For sectional tanks, review the delivery route, door and corridor dimensions, lifting arrangements, and the working space where panels will be assembled. A tank that fits the final footprint still needs a feasible installation route.
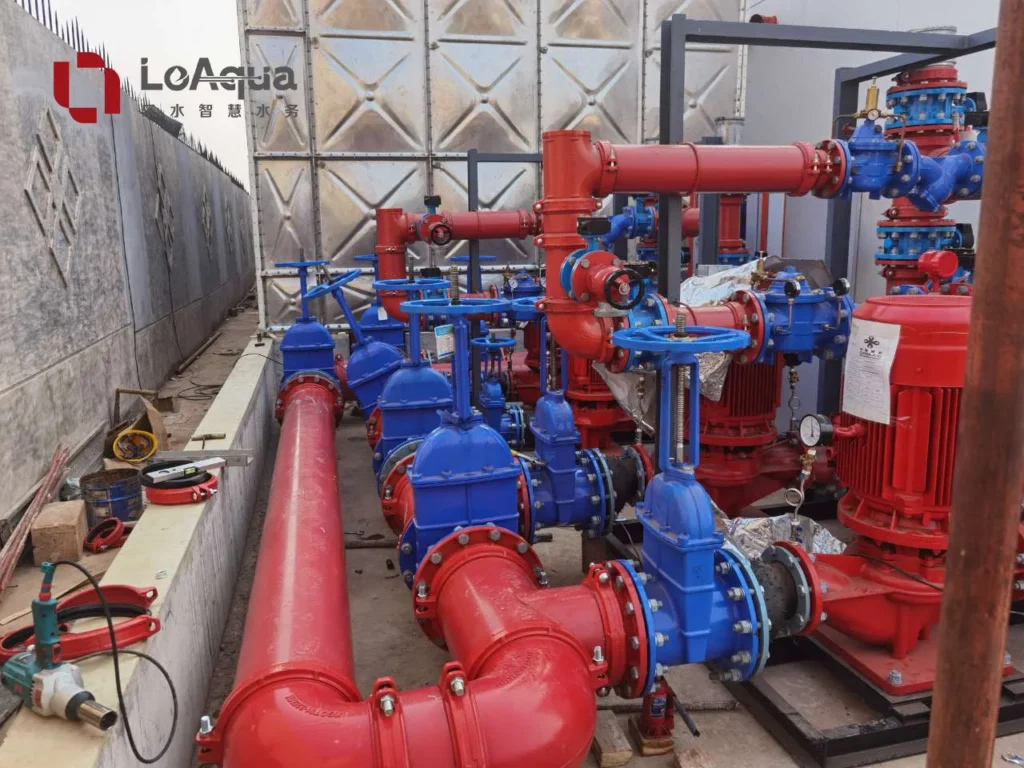
Where a pump system is included, coordinate tank outlets, pump suction, isolation valves and control signals against the project drawings. Confirm which interfaces are supplied by the tank manufacturer and which are completed on site.
4. Plan inspection and cleaning
Before handover, agree how the tank will be isolated, drained, inspected and cleaned, and who is responsible for each task. Set the cleaning and inspection schedule through the local requirements and the project’s water-safety procedures; do not copy a fixed interval from an unrelated installation.
For potable water service, the cleaning and disinfection checklist provides a starting point for planning the work and handover records. The approved site procedure should determine when the tank can return to service.
A practical pre-order checklist
- Duty: intended water use, required usable capacity and operating levels.
- Materials: water quality information and the documents required for water-contact components.
- Location: exposure conditions, drainage and safe maintenance access.
- Installation: delivery route, lifting plan, assembly space and responsibility for site work.
- Interfaces: inlet, outlet, overflow, drain, vent, level controls and pump connections.
- Handover: inspection, cleaning, testing and acceptance records required by the project.
A useful quotation makes these items visible. That makes it easier to compare a tank-only price with a supply-and-installation offer and spot work that has been left out.
Planning a water tank project?
LeAqua’s water tank range includes stainless steel, composite and GRP/FRP options. Send the required capacity, water use, site photos and available drawings for a project-specific review before the quotation is confirmed.